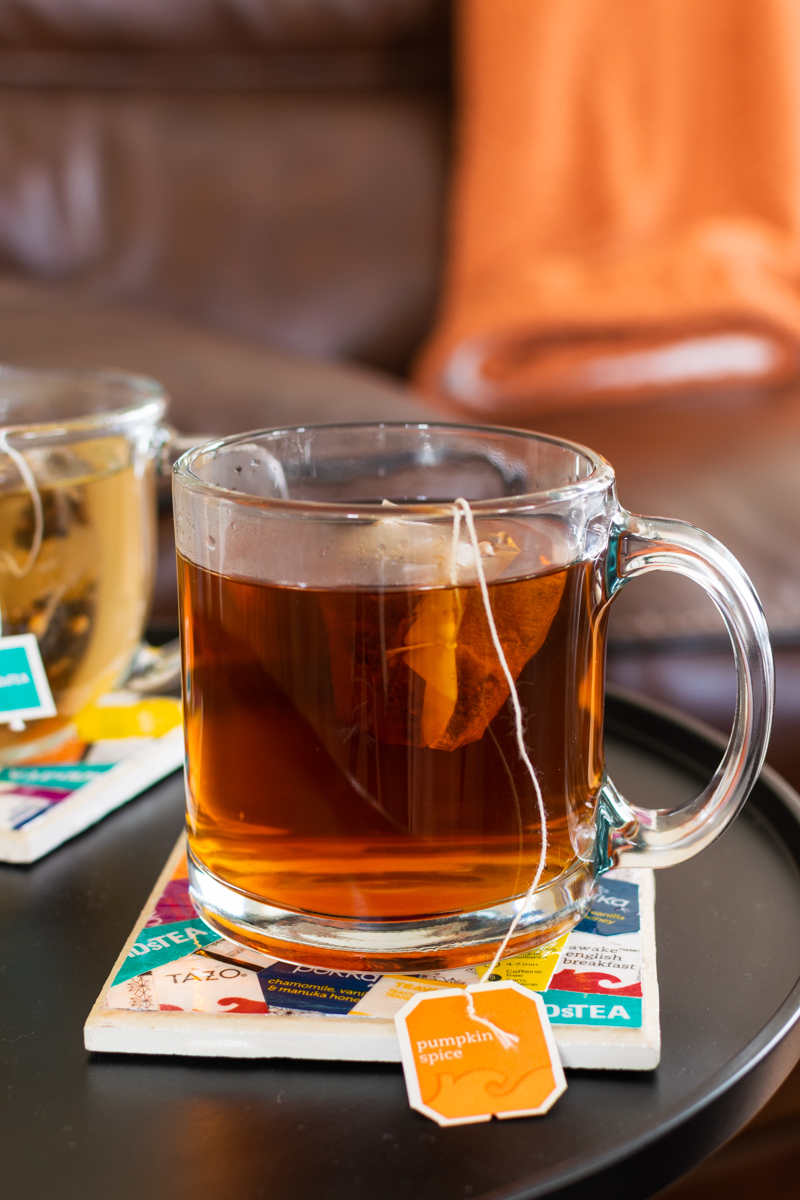
Tea Bag Tag Coaster
It occurred to me one day as I was steeping my morning cup of black tea with a tea bag, why not make a coaster using a collage of tea bag tags? Not only do these little tags, and even the tea boxes they come in have some really pretty graphic art on them, but they come in a great variety of shapes and colors. Plus, it would be really fun to see a collection of the flavors and brands of tea I’ve been drinking. So I saved up a bunch of tea tags, made a coaster with them, and am really happy with the results. If you want to make one too, here are my directions on how to make a DIY ceramic tile coaster decorated with tea bag tags. And as a side benefit, your tea bag tag coaster is a fun conversation piece, as well.
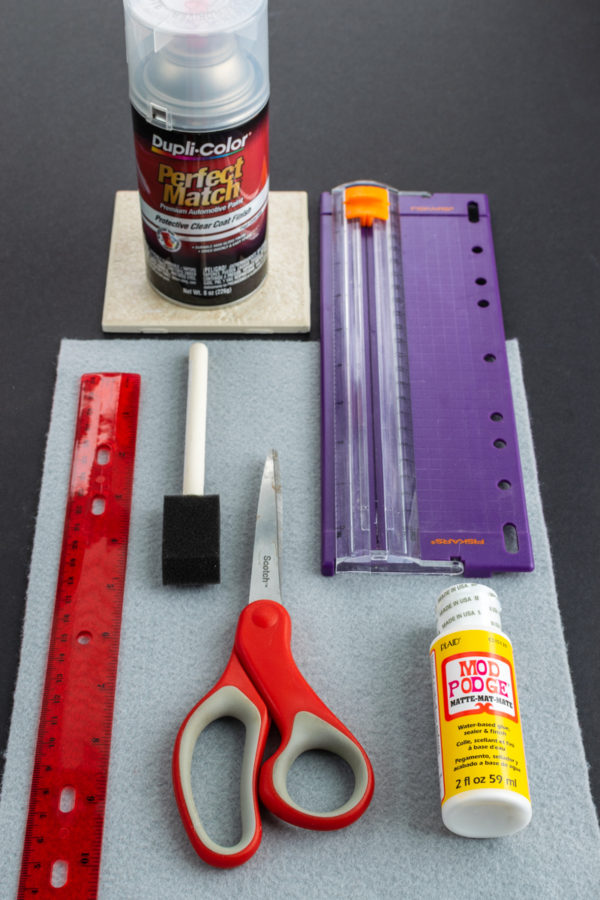
Materials for tea tag coaster craft
- 25-30 tea bag tags
- 4 inch tile(s) or slightly smaller
- Piece of white paper
- Piece of felt or felt circles
- Mod Podge
- Dupli-color clear coat automotive paint or Envirotex Lite pour-on high gloss finish
- Foam paint brush
- Scissors or paper trimmer
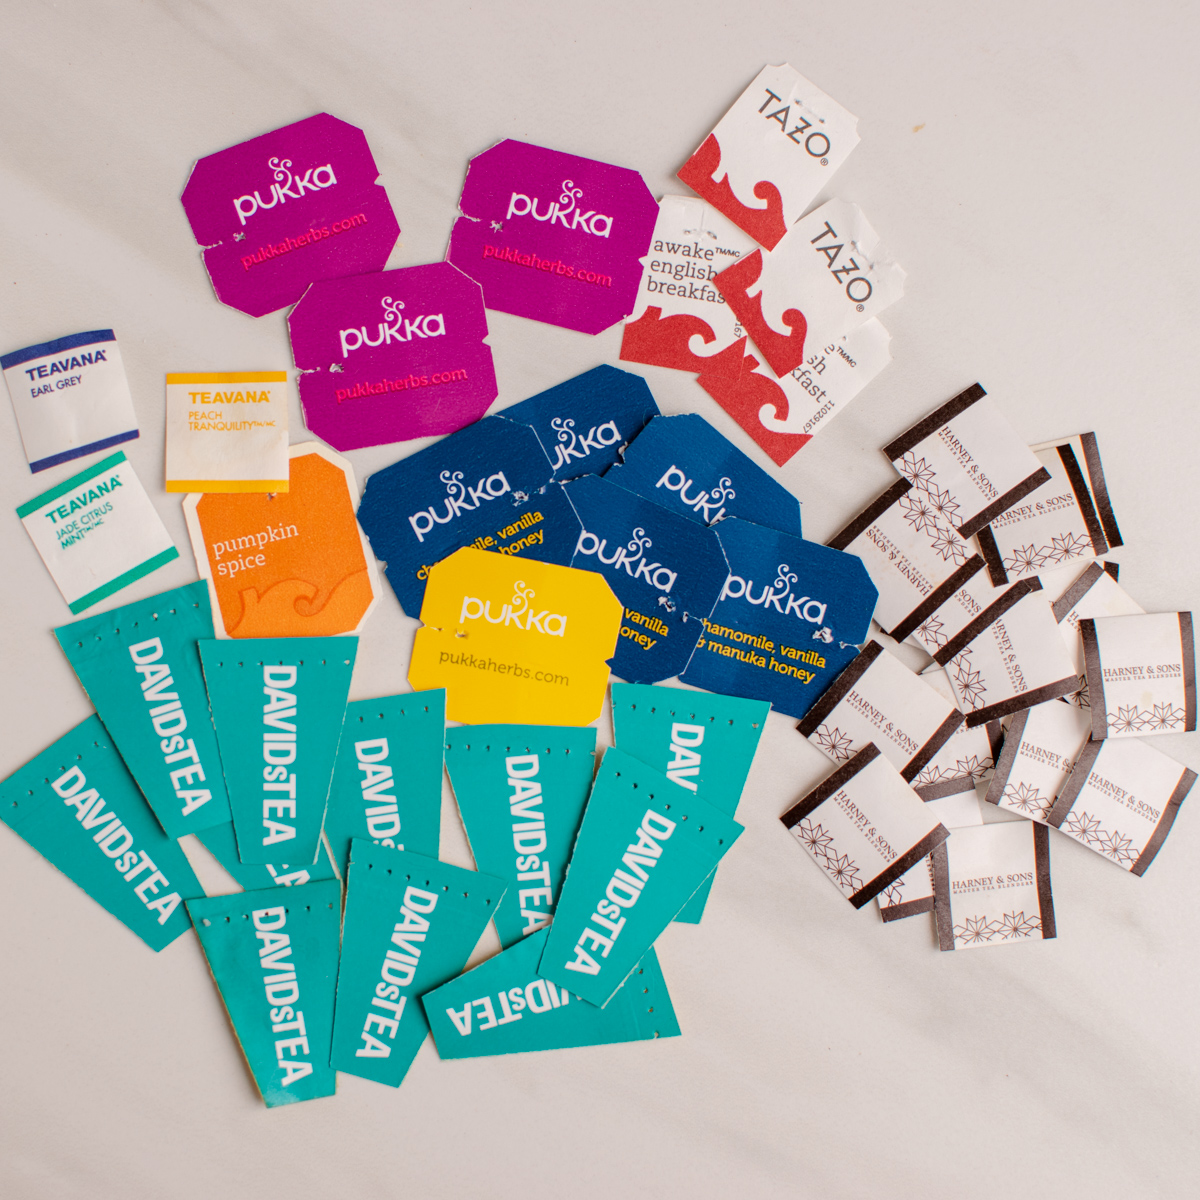
Step 1: Save Tea Bag Tags
This coaster design idea uses tea bag tags, but of course you can make it with any other type of product label or paper packaging that you like. If you love tea like me, the only hard part about saving the tags is remembering to do so. You’ll need to save about 25-30 tags per 4″ coaster tile, so make sure you tell any tea-drinking family members to add their tags to the pile too.
My design idea was to make a random collage from all brands and colors of tags that I drank over a month or two. But you could just as easily make a uniform coaster design, with one type or brand of tea per coaster. There are no “rules” for this coaster craft, so use your imagination.
Once you’ve collected your tea bag tags, clip off any remaining strings. I used manicure scissors to get the job done easily.

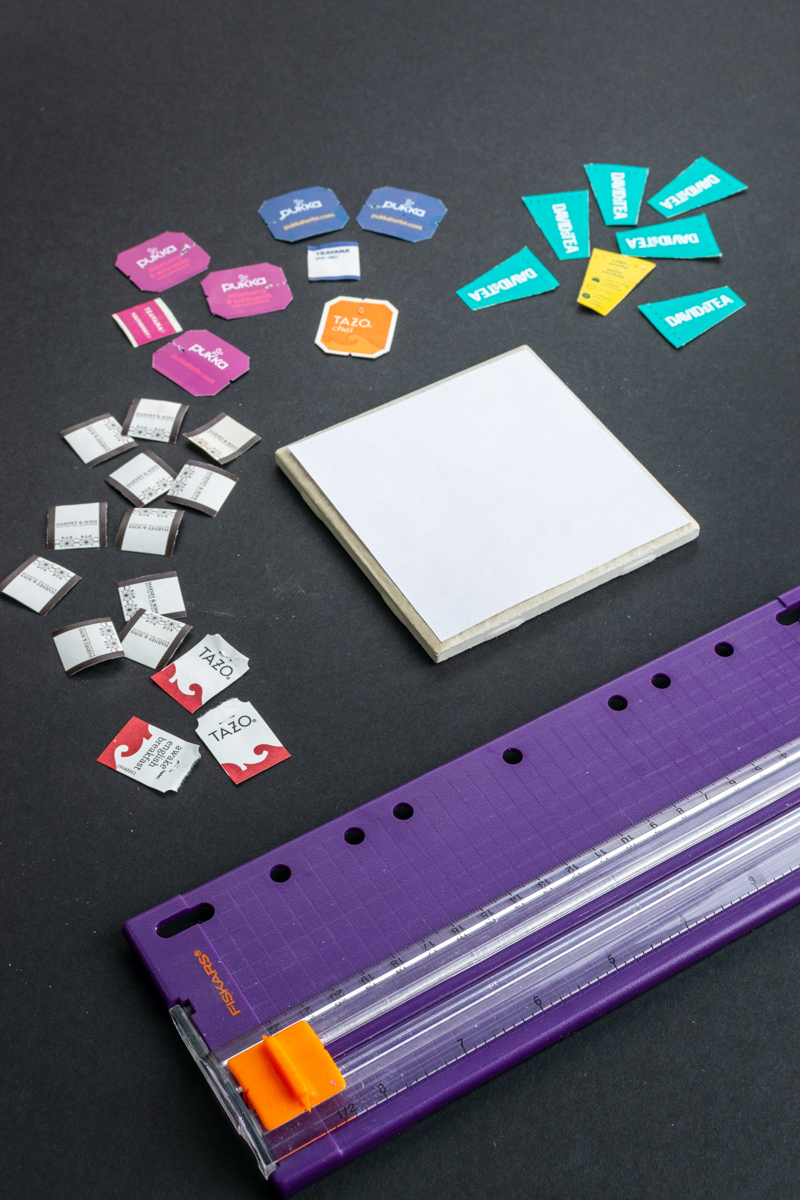
Step 2: Get supplies for coaster craft
In addition to the tea bag tags, you’ll need a small ceramic tile(s) and some felt or felt circles to put on the back side. I had some leftover tiles from another home project, but you can buy ceramic tiles specifically for craft projects or pick up a few tiles in a store like Home Depot or Lowes.
Also, to make this DIY coaster tile, get some Mod Podge or another craft adhesive, a foam brush and a sealant. A spray on protective sealant works well, or you can use something like Envirotex Lite to coat the entire coaster and give it a really professional look. (See step 4.) Additionally, you’ll need a piece of plain paper.

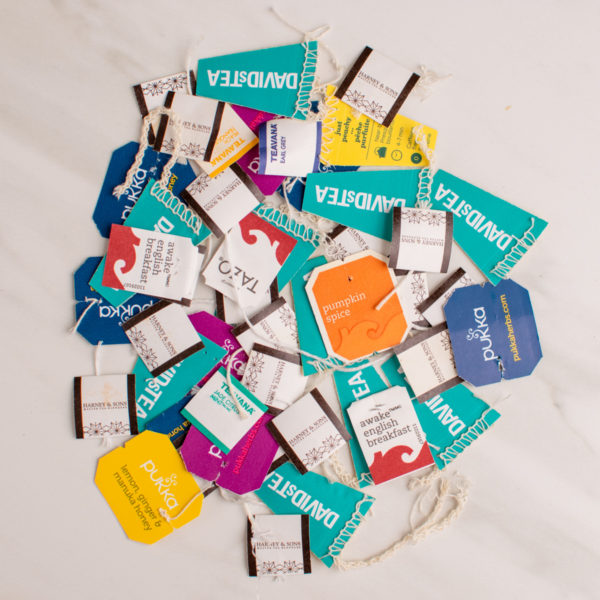
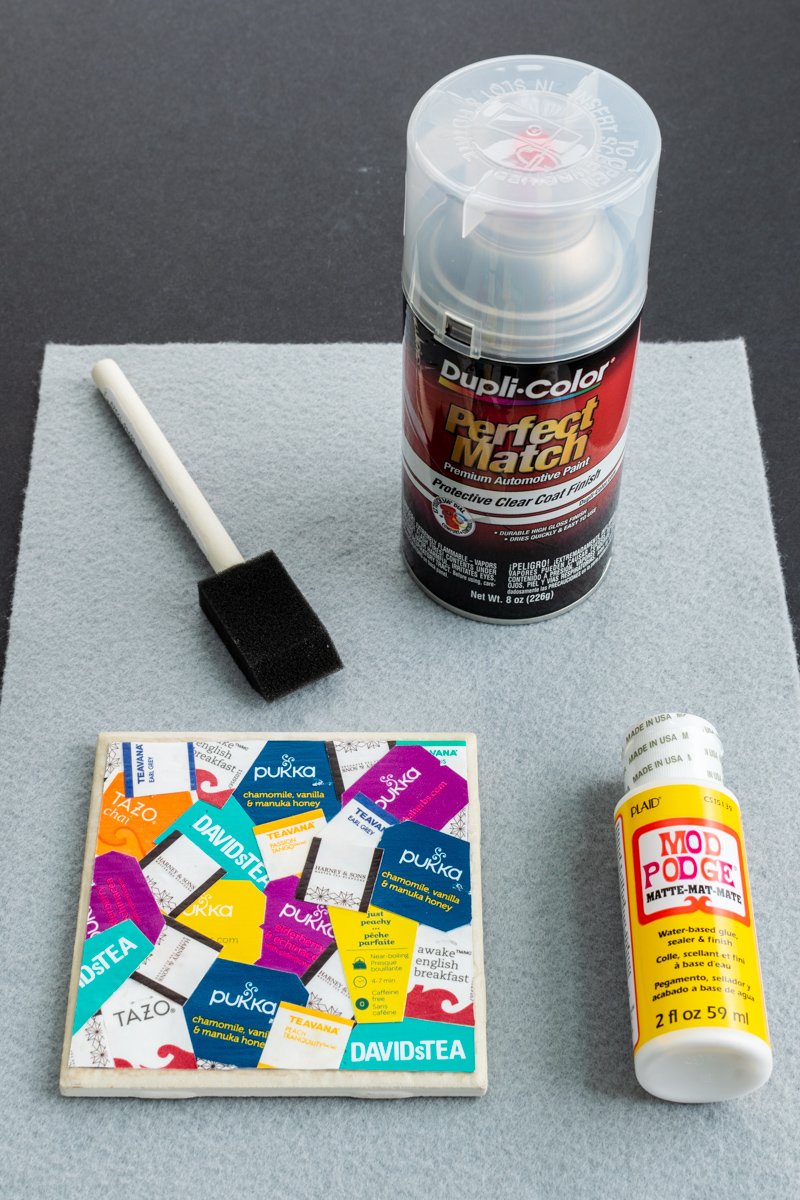
Step 3: Glue down the tea bag tags
I decided to make a random collage with my collection of tea bag tags, but wanted the entire design to be a square shape like the tile.
To achieve this look, first glue the tea tags to a piece of square paper cut slightly smaller than the tile. Adhere the tags to the paper with Mod Podge and a foam brush. Let the tea bag tags near the edges of the paper hang over in a random fashion.
After all the tea bag tags are glued down and dry, trim off the tags that are hanging over the edges of the square paper. I used a paper cutter trimmer to get a nice straight edge. If you don’t have one, use a straight edge and sharp blade or scissors.
Next, using Mod Podge, adhere the collage to the tile. Put the Mod Podge directly on the tile as well as the back side of the collage. Be sure and center the collage onto the tile.
Finally, put a coat of Mod Podge over the entire collage and let it dry. Note, the Mod Podge dries clear. Let it dry for several hours and add another coat of Mod Podge. Repeat this process a few times if you are going to use a spray on sealant. However, if you choose to use a pour-on coating like Envirotex Lite, then one coat of Mod Podge is all you need.
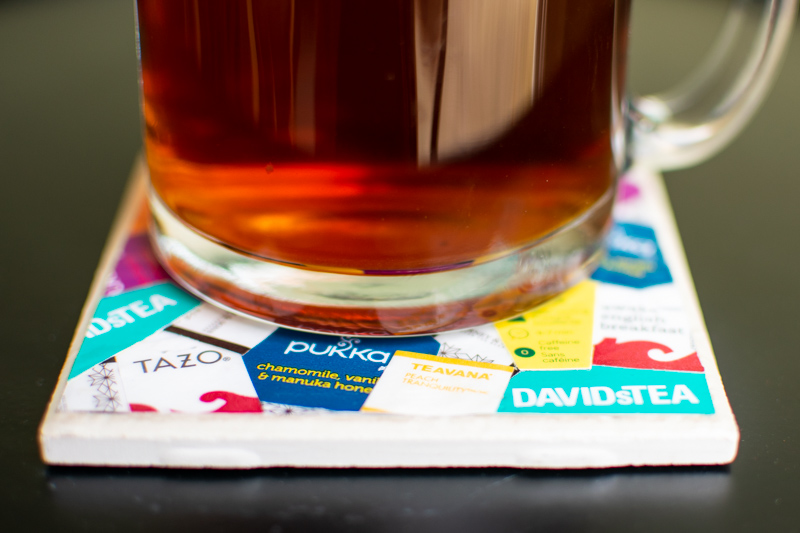
Step 4: Put a sealant on the coaster
It’s important to put a sealant on top of the coaster so the coaster is waterproof and heat-resistant enough for a hot cup. Here are a couple options:
Dupli-Color Automotive Clear Coat Finish The reason Dupli-Color clear coat spray works well is because it is waterproof and heat resistant (I think up to 300°F.). They also make an engine enamel which is heat-resistant up to 500°F; but that’s a little overkill for a coaster, though it may be good for a trivet.
The Dupli-Color spray must be applied outdoors and I highly recommend wearing a mask, as well. (Be sure and follow the safety precautions on the can.) Once you’re ready to apply the sealant, spray a thin coat and let it dry for several hours. Then, apply a second thin coat and let it dry for several more hours. Finally, apply a thick, third and final coat. Let it cure for 48 hours or longer before use.
Envirotex Lite Pour-on Finish Envirotex Lite is a pour-on finish that is both waterproof and heat resistant. The entire ceramic tile coaster is coated in it, and it creates a really nice clear shell. Personally, I prefer this look, especially if you’re making coasters for gift giving.
For my tea bag tag coasters I used the Dupli-Color clear coat to test out the product. So far the coasters are holding up well, but I since I prefer the look of the pour-on finish better, I am going to pour some over these coasters as soon as I get the chance. Plus, it will make a completely smooth surface which makes wiping up any drips really easy. I’ll add some new pictures to this post when I get it done.
Step 5: Adhere felt to back of tile
It’s important to add a piece of felt or some stick on felt circles to the back of the DIY ceramic coaster tile so the tile does not scratch your furniture. Simply, cut a piece of felt slightly smaller than the tile and adhere it to the back of the tile. Spray-on adhesive works well, but you can also use any other craft glue or glue gun.
Summary of Instructions for Tea Bag Tag Ceramic Tile Coasters
Time needed: 2 days and 4 hours.
DIY Tea Bag Tag Coaster Tile Craft
- Save tea bag tags.
You’ll need about 25-30 tea bag tags per tile, but the amount really depends on how you choose to lay them out.

- Clip strings off of tea tags
Using a pair of scissors (manicure scissors work well), clip off any strings from the tea bag tags.
- Glue tea bag tags to tile
Using Mod Podge, glue the tea bag tags directly onto the ceramic tile or onto a piece of paper slightly smaller than the tile. Trim off any tags that hang over the paper’s edges. Mod Podge the paper with tags onto the ceramic tile. Add a layer of Mod Podge to the top of the entire ceramic tile coaster project and let it dry for several hours.

- Put a sealant over the entire coaster
Spray the entire coaster with several thin coats and a final thicker coat of clear coat automotive protective finish or a single coating of pour-on finish like Envirotex Lite. Let it cure for at least 48 hours before use.
- Adhere felt to back side of coaster
Either adhere a square piece of felt or stick on felt circles to the back of the coaster to protect furniture.