Harney and Sons Tea Tins & Candles
Do you ever feel like you’re burning the candle at both ends of the stick? That’s how it’s been for me lately between photography, writing and, of course, life. So, I guess it’s only fitting that I share this candle tutorial: how to make a hand poured tea tin candle. Making handmade scented candles is one of my favorite crafts, and I bet if you give it a try, it might top your list, too. As a bonus, they make wonderful homemade gifts.
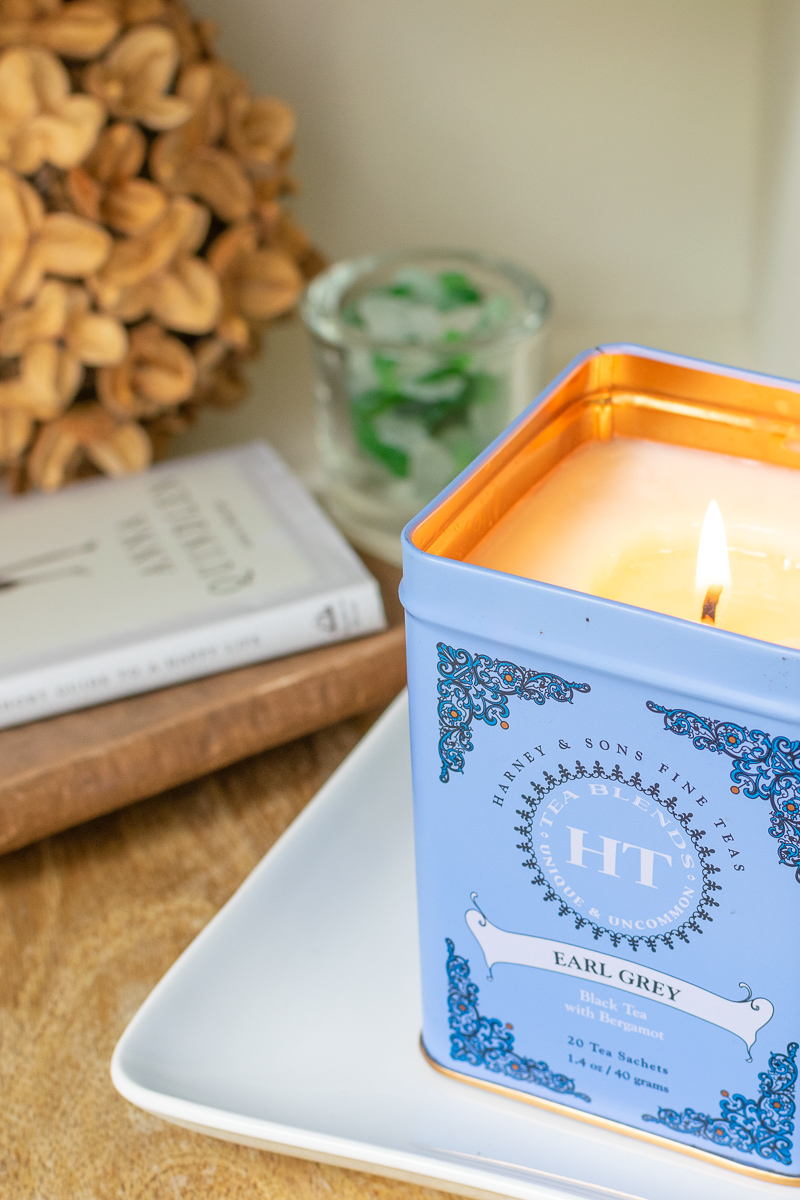
I love this DIY project since it gives a second life to an empty tea tin. Plus, it’s a whole new way to enjoy the beauty of tea tin canisters, not to mention the enticing scent of tea.
And if you’re a reader of this blog, you know earl grey tea is my favorite. In fact, I begin about ninety percent of my days with a cup of this bergamot-infused black tea. Lately, I’ve been drinking a lot of Harney Earl Grey tea and so I thought it would be fun to repurpose the tin into a bergamot-scented candle. Of course, you can use whatever tin or canister you have on hand and adjust the scent to match the flavor of tea.
Things you need to make hand poured soy candles in tea tins
It goes without saying that you’ll need a tea tin for this project. If you don’t have one, you can make your candle in a tea cup, mug or an empty tin or glass container from the craft store. Just pull out your inner Martha Stewart and get creative. But hey, why not look at this as an opportunity to drink more tea? (As if you need a reason.)

For this project, you’ll also need soy wax, fragrance oil, a wick and a few other things to melt and mix everything together. I highly recommend using soy wax, as opposed to a petroleum-based paraffin wax, since it’s clean burning.
Here’s a list of the things I use. And since I’m an Amazon Associate, if you purchase any of these items using my links, I will get a small commission. However, these items cost you no more when you use my links, and of course, I only recommend products that I personally use, like and am 100% comfortable recommending!
Things you need to make the actual candle
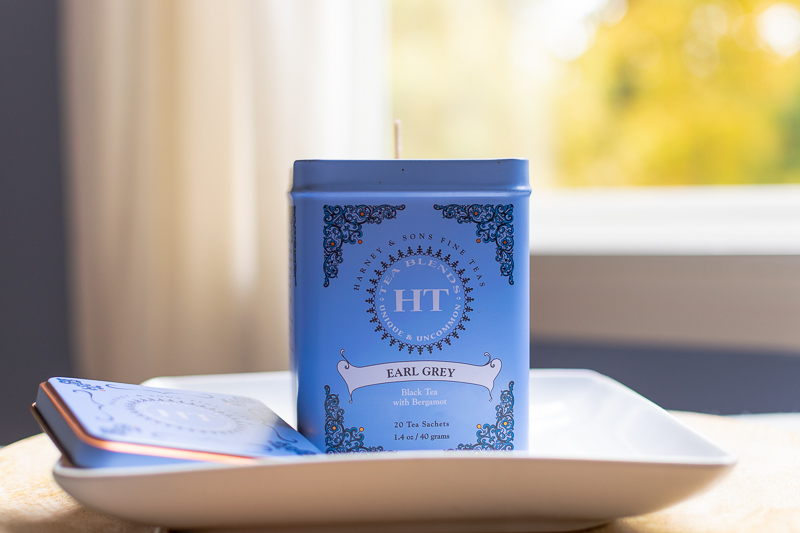
- Harney Earl Grey tea tin: I get Harney tea at Target.
- Soy Wax: I use Golden Brands 444 soy wax.
- Bergamot fragrance oil or whatever scent you prefer (I got mine from The Candlemaker’s Store.)
- 6″ Wax-coated wicks, pre-tabbed
Other things you need (that can be used again and again)
- Glue gun
- Thermometer: I use an instant read grill thermometer, but you can use a candy thermometer or an infrared thermometer.
- Pouring pot for melting & pouring wax
- Electric single burner (Do NOT melt wax using a gas stove!)
- Wick centering device (or you can use a wooden clothespin or a couple pencils or popsicle sticks)
First timers may want to consider getting a candle making kit. These come with soy wax, wicks and a wick centering device.
Steps to make handmade scented candles
For me, there’s something really relaxing about making hand poured candles. It’s just a quiet time to focus and create something special. That being said, while making candles is a rather simple process, do be careful dealing with hot wax. Let’s get started.
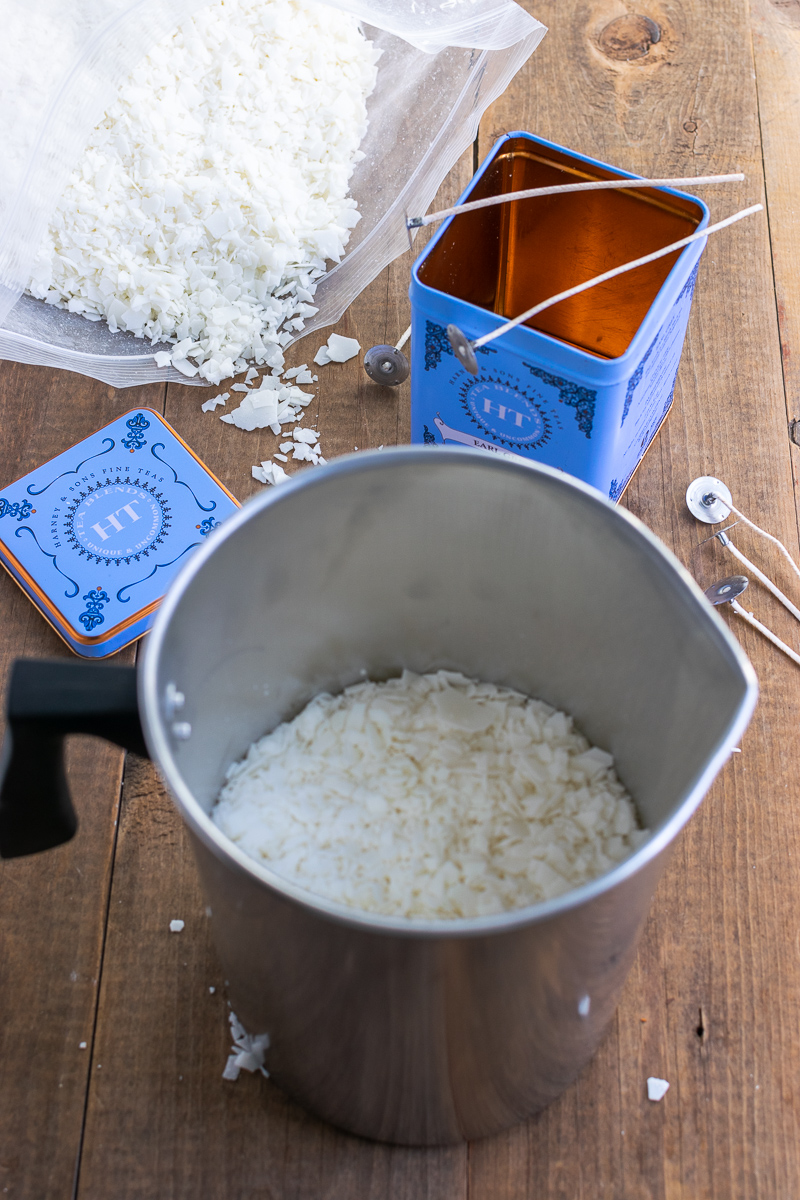
Step 1: Measure the wax
As a rule of thumb, use about twice the amount of soy wax flakes it takes to fill the container. In other words, for this project you’ll melt two tin-fulls of wax.
If you have a kitchen scale, weighing the liquid volume of your tea tin is more precise. To do so, simply fill the tea tin up with water and weigh it. Then weigh the same amount of wax to melt. Of course, you’ll need to discard the water and dry the tin out.
Step 3: Melt the wax
Next, melt the soy wax in the pouring pot on an electric burner until it’s 185℉. If you’re using a different wax, be sure and look at the manufacturer’s recommendations.
Step 3: Adhere wick to tea tin
While the max is slowly melting, go ahead and glue your wick to the tea tin. Put a dab of hot glue on the bottom of the tab and gently press it onto the center of the tin’s bottom.
Step 4: Add fragrance oil
When it comes to adding the fragrance oil to the wax, you need to wait until the wax reaches a certain temperature. The temperature you use depends on the type of fragrance oil. Again, check the manufacturer’s instructions. In general, however, fragrances with a higher flash point can be added at 185 ℉, whereas those with a lower flash point, like citrus, are added around 160℉. If you don’t wait, the top notes will burn off if the wax is too hot and the candle will not throw much fragrance.
Also, stir the fragrance into the wax for a full two minutes. Use a gentle stirring motion so as to not add air bubbles. And as tempting as it may seem, don’t shortcut the two minutes!
Step 5: Pour candle
Like adding fragrance oil, you need to pour the candle into the tea tin when the wax has cooled to a specific temperature. For Golden Brands 444 soy wax, we can pour when the wax is 110 ℉. Pour the wax slowly and steadily close to the wick.
Step 6: Center the wick
Now, you need to stand the wick up straight in the center of the liquid wax. I like to use a cheap wick centering device. Candle kits usually contain one or you can use my link above. Otherwise, just use anything around the house to hold the wick into place. For example, you can curl it around a pencil that rests across the top of the tin, or a clothespin, a couple popsicle sticks or whatever else you have.
Step 7: Let the candle cure
Finally, the candle needs to cure (harden). If you used a clear glass container, you can see the liquid wax turn to white rather quickly. But this is a case where patience is a virtue. It will take at least 24 hours for the candle to fully cure, but 48 is even better.
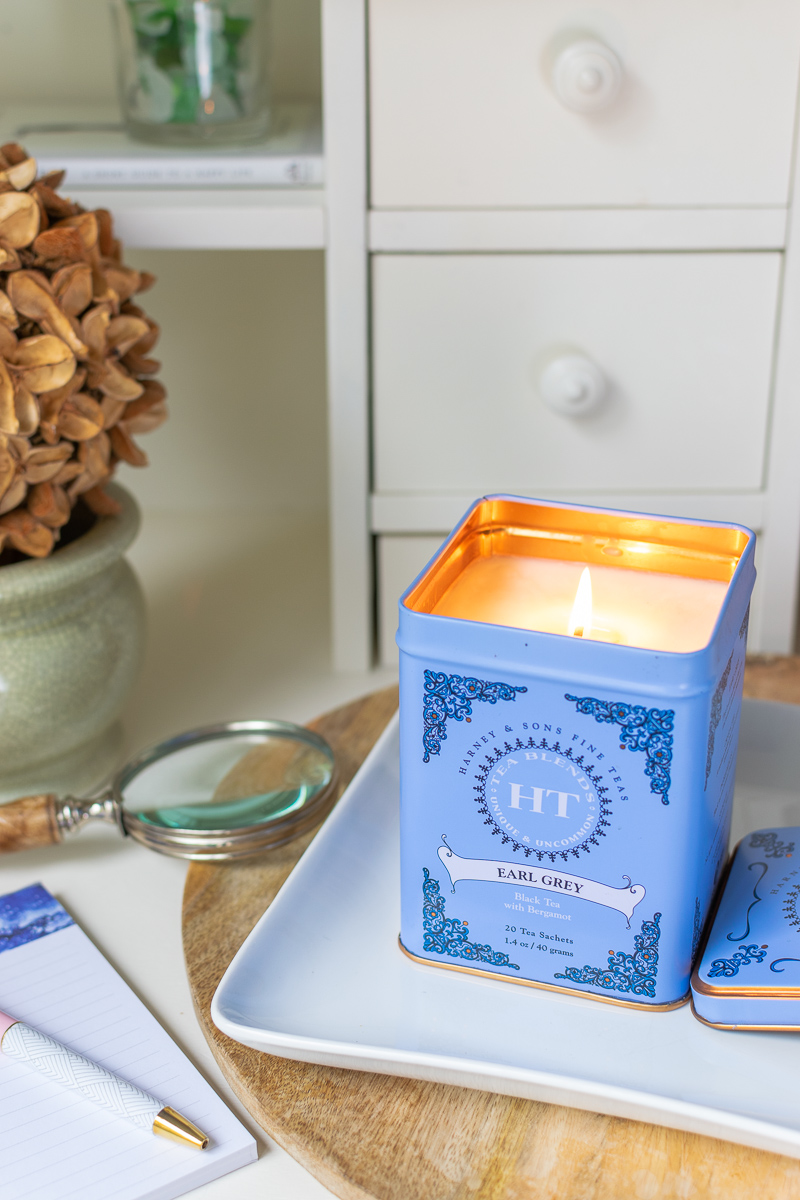
Step 8: Trim the wick
Now that that your hand poured tea tin candle is finished and ready to burn (hooray!), you need to trim the wick. The wick should be about 1/4 inch tall. In fact, did you know that the wick should be trimmed every time you burn the candle? This will prevent sooting and increase the life of your candle. Additionally, it prevents tunneling (you know, that hole that burns deep around the wick).
Step 9: Finishing touches
Keep in mind, soy is a natural plant-based product. Therefore, the top of the candle may be slightly lumpy or even have a few little holes and pits. For a smoother appearance, especially for gift-giving, simply hold a blow dryer (or hot gun) a foot or so above the candle and re-melt just a little bit of the wax’s top layer. Then, let it re-harden. But no need to fret, any lumps and bumps will not affect burn performance.
Speaking of burning, did you know the first burn of any new candle is critical to the life and burn performance of your candle? The first burn should be done for as long as it takes for the burn pool (melted wax) to reach the container’s edges. Typically, this takes several hours. In fact, future burns should always be a minimum of a couple hours and a maximum around four hours.
Tips for successful candle making
Lastly, here are a few reminders and additional tips to create and and enjoy your homemade tea tin candle:
- Use the correct size wick for the tea tin or other vessel.
- Follow manufacturer’s instructions for temperatures to melt wax, add dye (optional), add fragrance oil and pour wax.
- Stir the fragrance for a full two minutes, and do so gently.
- Pour the wax slowly and steadily, as close to wick as possible without touching.
- Use a blow dryer (for hair) or hot gun to smooth out top (if desired).
- Be sure the candle’s first burn is as long as it takes for the melted wax to reach the tea tin’s edges.
Now that you know how to make a hand poured tea tin candle (or tea cup), you’ll have a fun and relaxing diy project that you can always enjoy. And of course, you’ll have a wonderfully scented candle to cozy up to with a warm cup of tea in hand.